What is the Psoas?
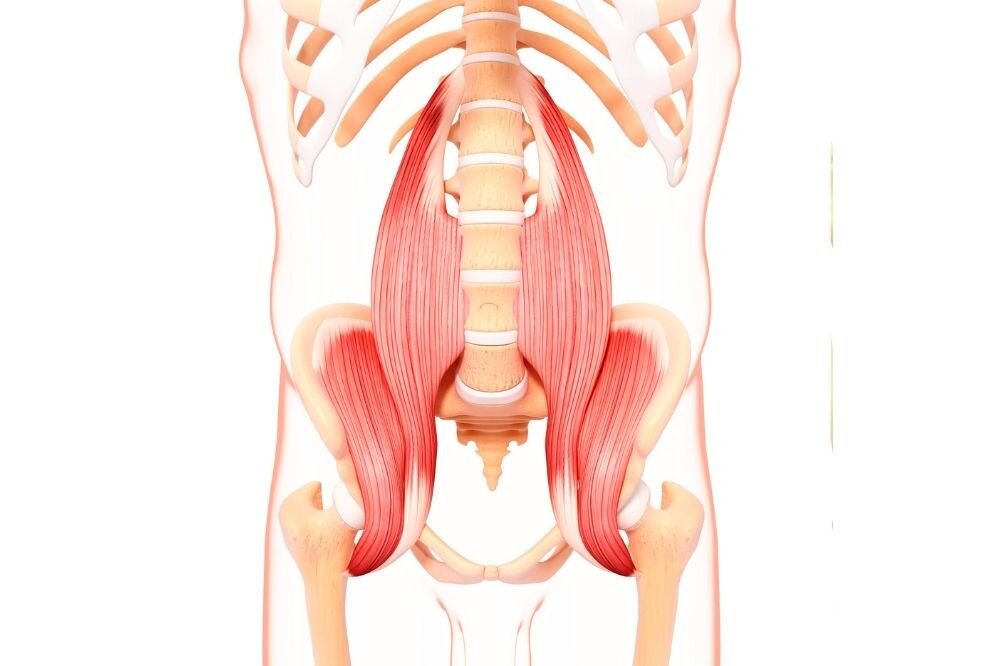
Unless you've been to physical therapy or worked with an anatomy-minded trainer, you may not have heard much about the Psoas, yet its strength and resiliency is vitally important. One of the deepest muscle in the body, it is the only muscle directly attaching our spine to our legs, affecting our structural balance, flexibility, strength, range of motion, joint mobility, and organ functioning.
Originating from the T12-L5 vertebrae of the spine (essentially the entire area of your low back), the Psoas Major runs down and forward over the front of the pelvis and attaches to the inside of the Femur (your thigh bone) at the lesser trochanter. It works as both a hip flexor (drawing the thigh towards the torso) as well as a mover of the lumbar spine (side bending, rotating and flexing (rounding) the low back. You may also hear it referred to as the Iliopsoas. This term groups the Psoas together with another muscle, the Iliacus, which shares the same attachment at the lesser trochanter.
Could a Tight Psoas be Causing Your Pain?
The stress of our fast-paced modern lifestyle can chronically trigger and tighten the psoas – making it literally ready to run, fight or freeze. This can lead to a host of painful conditions including low back pain, sacroiliac pain, sciatica, disc problems, scoliosis, hip degeneration, knee pain, menstruation pain, infertility, immune system and adrenal gland depletion and digestive complications.
How to Release, Stretch and Strengthen the Psoas
Pilates and Yoga both include several exercises to release, stretch and strengthen the Psoas. By soothing chronically held tension and strengthening the other deep core muscles, you will relieve pain and stiffness, feel able to stand taller, and walk, run and move with more ease.
Pilates Workouts for Psoas Relief and Strength
These classes both utilize my favorite prop for stretching and gently working the Psoas - a foam roller.
Yoga Poses to Stretch and Strengthen the Psoas
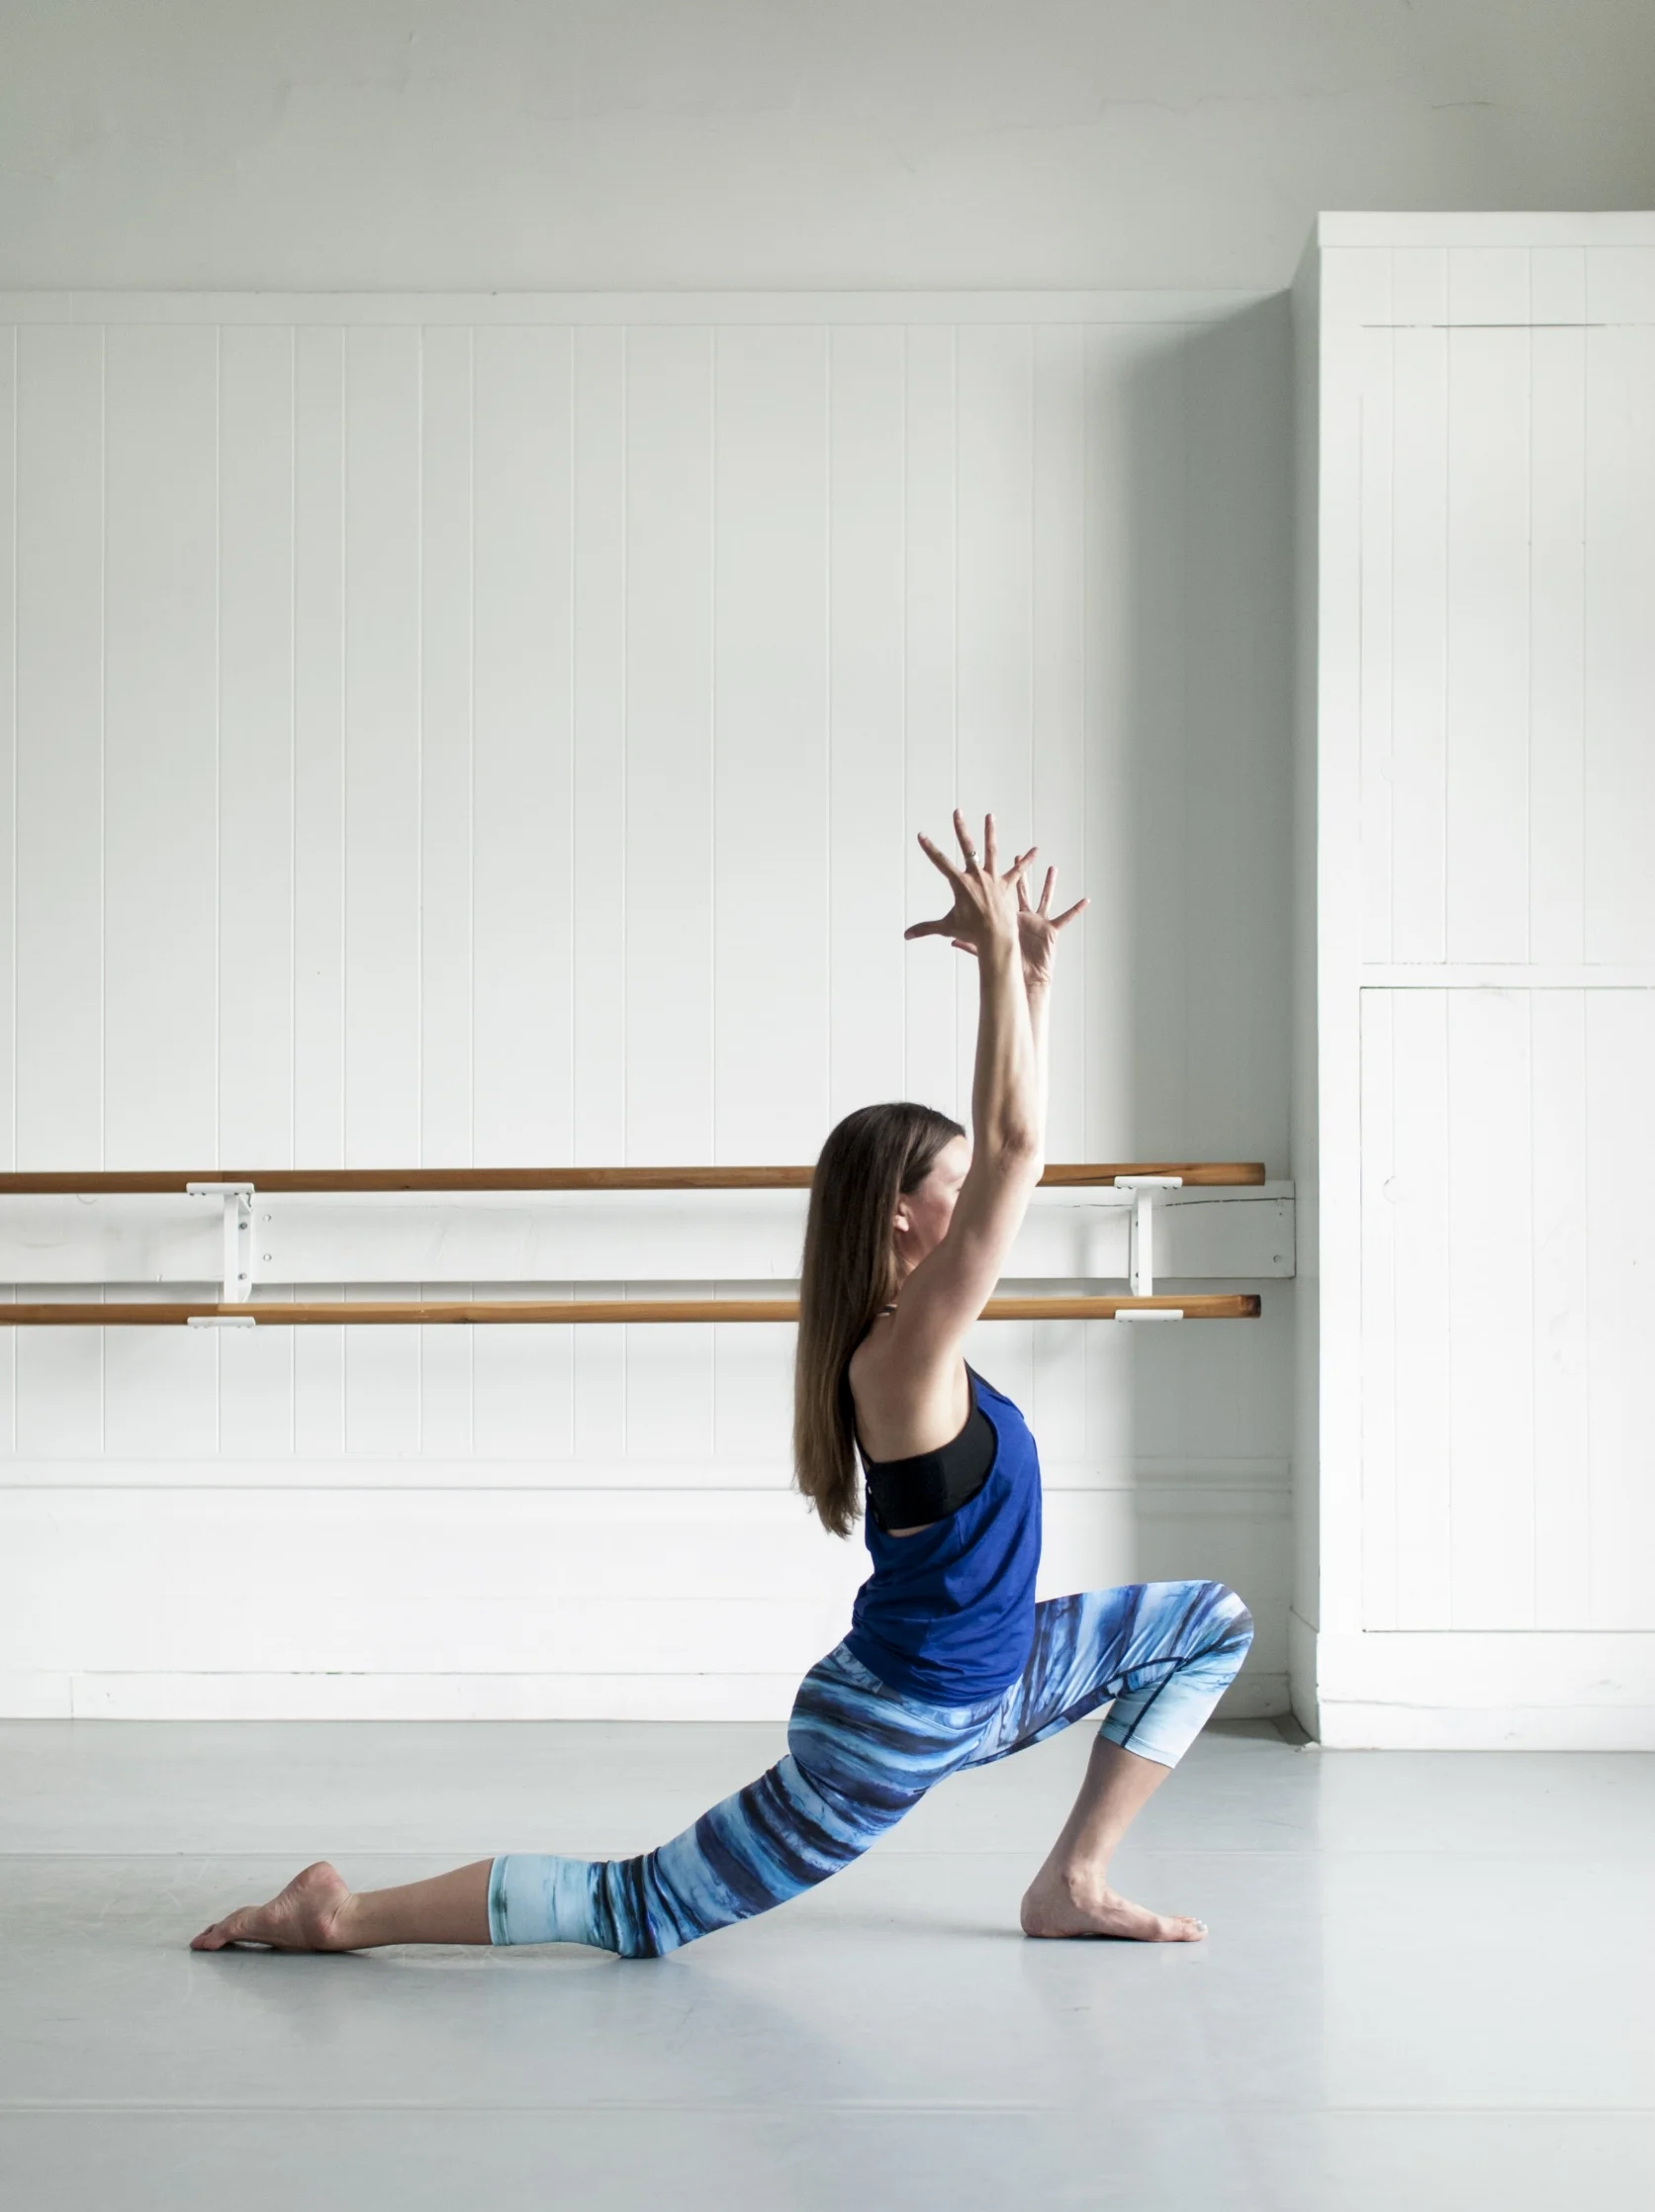
Low Lunge
Lunges are magical. They stretch and strengthen the entire lower body and are a key movement for knee, hip flexor (including the Psoas) and low back vitality.
No matter what type of workout you do, you've likely done at least a few lunges in your life, so rather than focus on that, this video is a collection of small tips to improve your lunges. Learn how to protect your knee and release tension in the hip flexors, psoas and low back.
This video also includes my favorite trick for getting deep into the hip flexors - a great stretch at the end of a long day at a desk, behind the wheel or flying.
Low Cobra
Low Cobra
Cobra is a common yoga pose yet one that can actually cause more pain in the neck, back and shoulders if not done with proper alignment and awareness.
Many folks think of Cobra as a back bend, and it is yet in order to lengthen, rather than compress the low back, the legs, butt, chest, arms and hands are also important parts.
For years I did Cobra thinking that the pain I felt in my low back after class was simply my weak muscles getting stronger. Nope. I’ve got a lot going on in my low back - Spina Bifida as well as vertebrae that are slipped slightly forward and to the right of where they should be.
My natural flexibility combined with my lack of knowledge of how to care for my back led me to collapse in my low back, aggravating the very spot I was trying to soothe. These small tweaks are what made all the difference for me.
Cobra Over the Roll
You know you’re in Forrest Yoga class when the rolled up mats come out. We use these things in a variety of ways, many of which feel intense but working with the roll is actually deeply healing, providing release or muscular engagement in a variety of ways.
One of my favorite ways to use the roll is for backbends like Cobra or Bow. The pressure of the roll combined with drawing my tailbone down toward the floor and engaging my legs keeps my anteriorly slipped L5 vertebrae in place and happy.
Not to mention, the sweet release I feel in my belly, back, hips and hip flexors coming off the role.
High (Crescent) Lunge
This pose is known by many names: Lunge, High Lunge, Crescent Lunge or Lunge with the back knee lifted.
I find a lot of folks come into this pose without a lot of thought or just hang out in it, waiting for the next pose which is a shame as this can be such a thrilling posture to stretch the hip flexors, including the Psoas and strengthen the thighs. Try these simple tweaks to turn your life need into a more enlivening experience.
Warrior 1
Warrior 1 is a common pose but one that can cause a lot of tweaks, especially with folks with SI or low back instability.
The small adjustments I highlight in this video made a huge difference for me, helping my me to find length in my back and Psoas and stabilize my sacrum. One other trick to try to stabilize the SI is to lightly hug the inner thighs in towards one another which will create space across your low back.
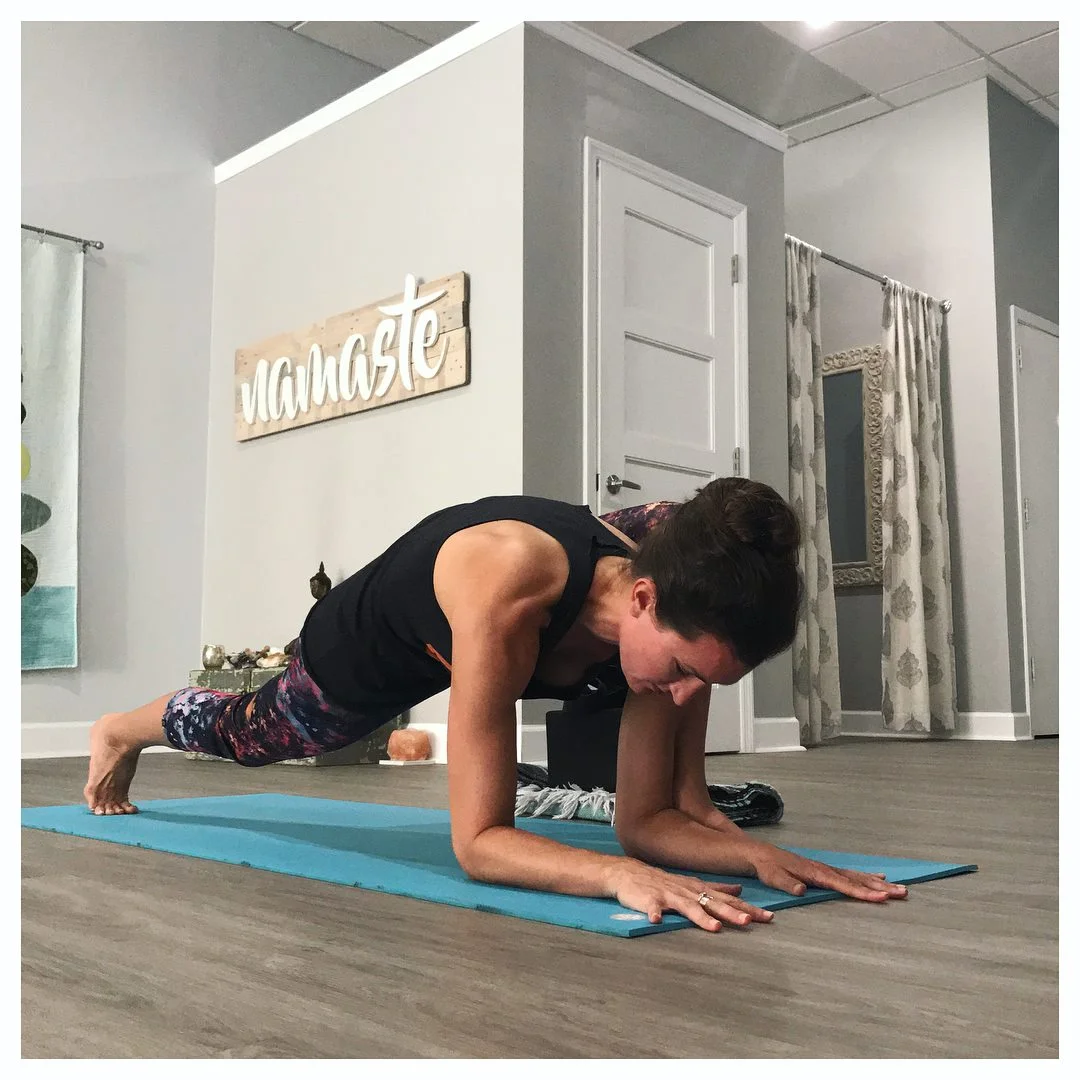
Elbow to Knee
Elbow to Knee is the single most effective abdominal exercise I've found for stabilizing the low back, releasing tension in the hip flexors and of course strengthening the abdominals and back muscles.
This is intentionally a SLOW, mindful movement that engages all of your abdominals - rectus (the '6-pack'), obliques and transverse (the ones that help you stand taller and hold your guts/low belly in).
Done right, it's intense. There's no need to do tens or hundred of crunches - aim for 5 of these on each side and be prepared to feel your abs in a whole new way. That said, it's also safe enough for folks working with back pain and injuries including disc issues and sciatica - just make sure to keep your low back in contact with the floor throughout the exercise.
Bridge and Bridge Over a Block
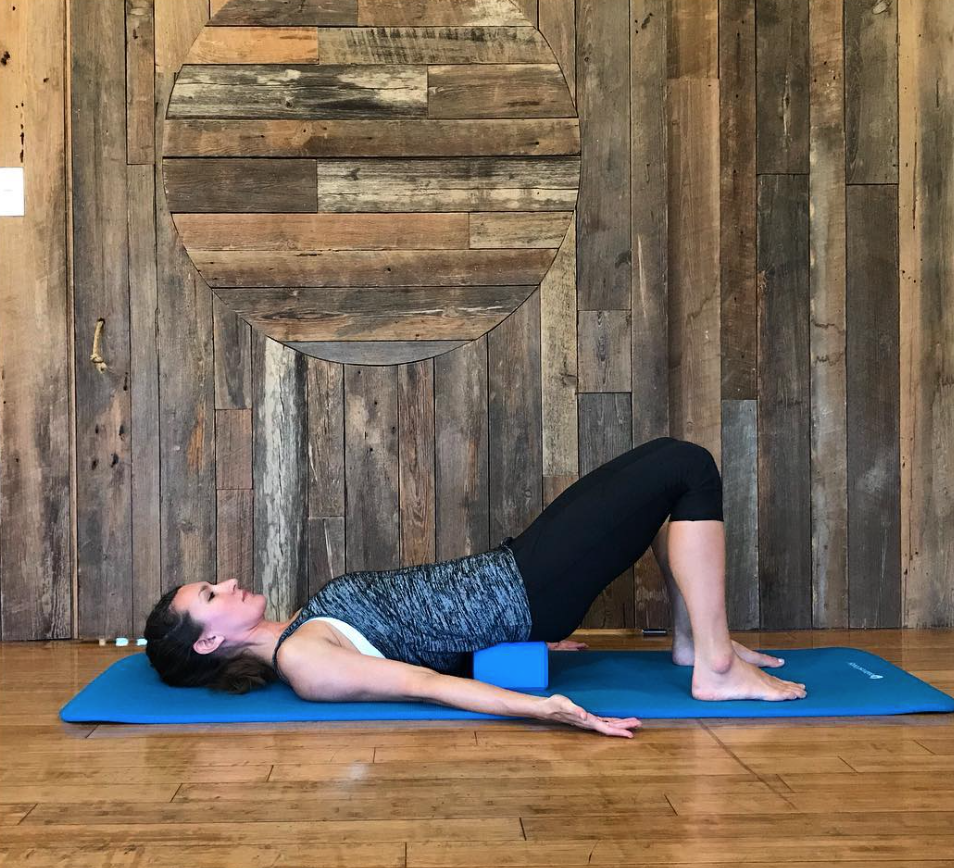
Bridge Over a Block
Bridge Over a Block is a different kind of Bridge Pose. This one is all about letting go and is one of my favs when I’m feeling tired and achey in my low back and hips.
Place a yoga block under your hips at the lowest height. Don’t have a yoga block? Try a pillow or rolled up towel. Let your hips be heavy and check that your head and shoulders are completed relaxed.
Now deepen your breath. Slow it down. Make it smooth and lengthen your exhale so it’s longer than your inhale. With each exhale, feel for letting go and allowing the weight of your legs and hips to sink into the support of your props.
Relax your eyes and jaw and stay here for as long as feels good. The longer you hold it, slowly the Psoas and other hip flexors will release, layer by layer. This is also a deeply restorative pose for the nervous system and a great way to end a long or stressful day.
Bridge
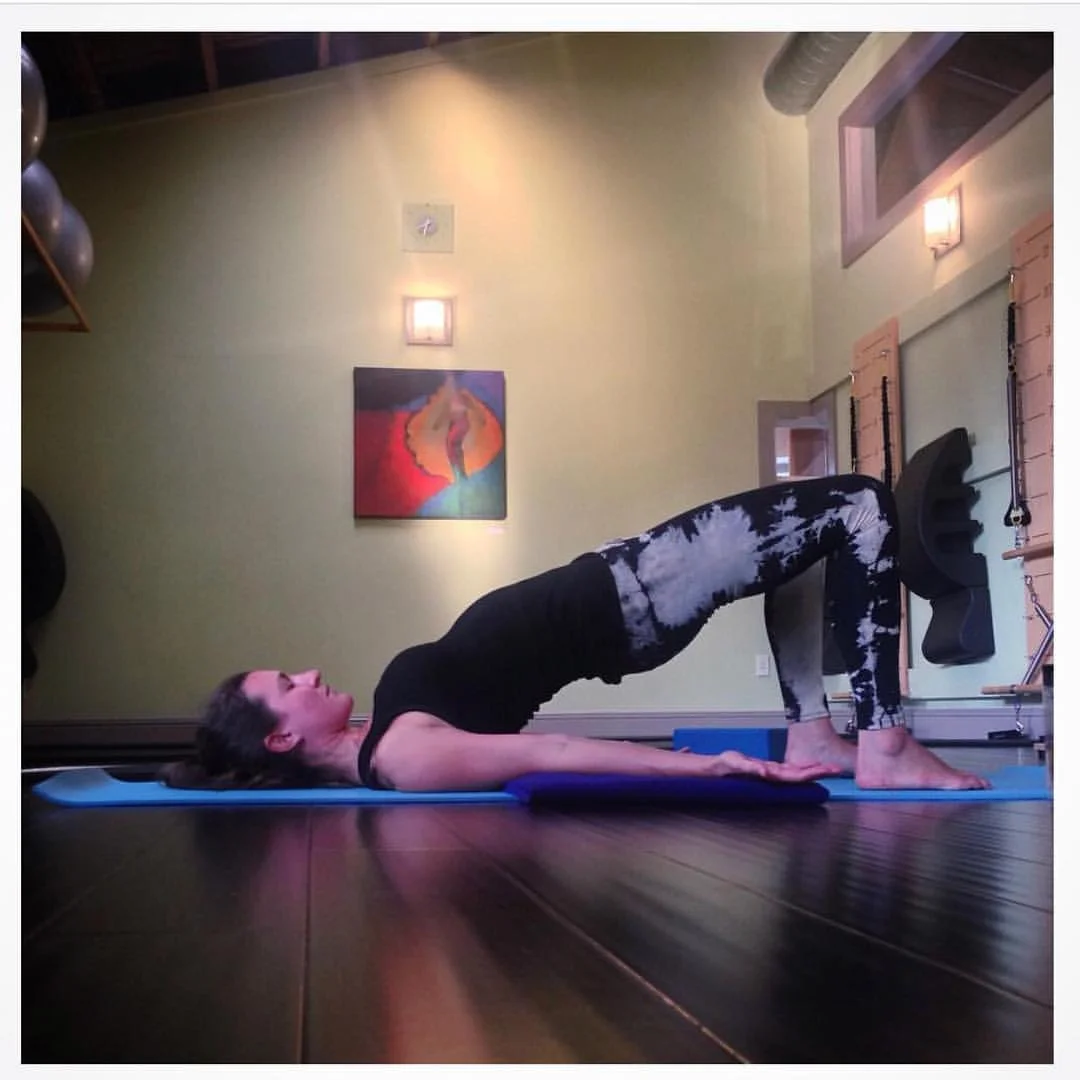
I love bridge pose. Not just for a breath or 2 but for 8-10, maybe more. Bridge stretches the Psoas and other hip flexors as well as the top of the thighs while strengthening and teaching the butt, hamstrings and inner thighs to lengthen the low back.
Bridge for a breath is easy. Bridge for several breaths teaches us to find the right amount of effort.
Feet need to press firmly into the floor - both inside and outside edges of the feet. Check if your feet want to roll to one side or the other.
Curl tailbone up to the ceiling and turn on your butt - not squeezing in but reaching towards the back of your heels - to lengthen low back. Then soften. Your head, shoulders, jaw and eyes. Start tracking the parts that want to grip and consciously relax them.
Uddiyana with Back Traction
Uddiyana with Back Traction Lying Down
This is a great simple move at the end of a long day at a desk or traveling to create space in a stiff, achey or compressed-feeling back. I also like to use this move during my yoga practice after several rounds of abs or bridge pose to stretch my low back.
Try to aim for 3-5 rounds, holding your breath only as long as is comfortable.
Uddiyana with Back Traction in Horse Stance
Uddiyana is a breath technique paired with a muscular contraction that creates space and pressure in the abdominal cavity to lengthen the low back, create space between the vertebrae of the spine, relieving disc pain, release and stretch the psoas and other hip flexors and break up adhesions in the abdominal organs.
Practicing this move in Horse Stance also opens up the hips and allows me to gently traction the spine further by pressing into my thighs as I lift my ribs up away from my hips.
Frog or Half-Frog Over the Roll
Frog can be an intense hip opener. In Forrest Yoga, we use props, such as blocks, blankets and especially the rolled up mat to not only soften the stretch, allowing the body to ease in at a more organic rate but to lengthen to the low back, gently release the psoas and a massage of the guts and internal organs, stimulating circulation and digestion.
If you've never liked this pose, then this video is for you.
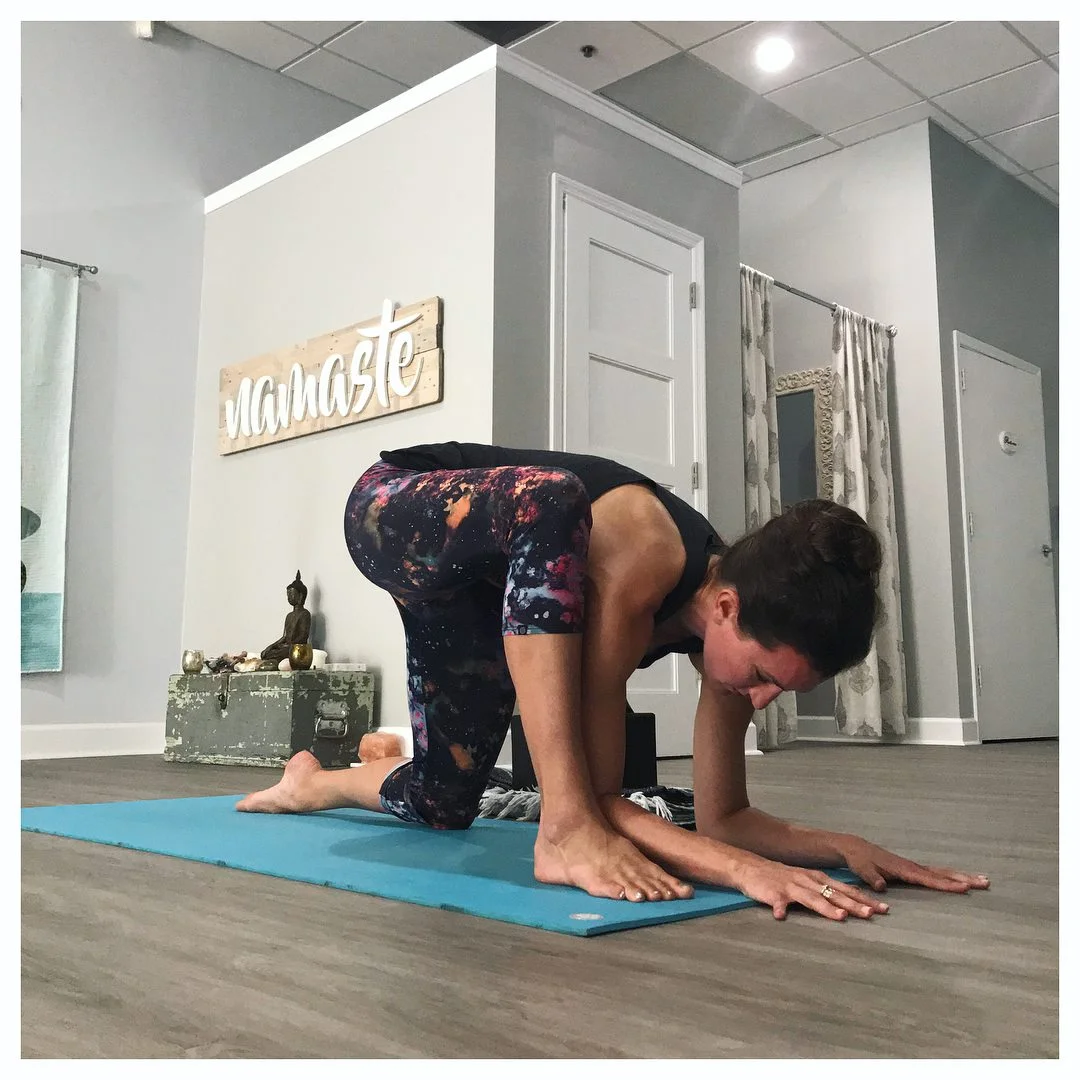
Maine Coon (Lizard Pose)
Maine Coon is Forrest Yoga’s version of Lizard pose. I love this pose as it offers the opportunity to practice so many of the lessons yoga teaches - alignment (in your bones as well as in your life’s path), listening to the body and moving at a pace that it’s ready for (rather than pushing it into pain or forcing it into a certain shape for ego’s sake), and most of all learning to let go. To soften rather resist and to allow rather than push. As a muscle tied closely to our sympathetic nervous system (aka the fight or flight response), the Psoas knows when we’re struggling and in fear and It reacts by gripping. To find ease in this pose and length in the Psoas requires slowing down - your breath, expectations and movements.
2 variations of Maine Coon:
Stage 2: Back Knee Up
Step the back foot way back and curl the toes under. Press back through the heel of your back foot. That’s the move that will really begin to stretch the Psoas but it can get intense fast so come down to Stage 1 as you need to do you don’t go into struggle mode.
Stage 1: Back Knee Down
Front foot is directly under the front knee with foot firmly planted (which is a little different from Lizard pose). Both hands inside the front foot. Head and neck relaxed.
As you soften with each exhale, you may be able to go lower and bring forearms down onto blocks or on to the floor.
Arrow Lunge
Arrow Lunge is a DEEP Psoas, Hip Flexor & Thigh Stretch as well as a great quad strengthener and enlivener.
This is a BIG feels kind of pose. Normally within a breath or two, the quads will start to quiver, the breath wants to get shallow and the first waves of struggle will show up. Yoga is a great place to dance with struggle as it’s often a mirror for how we deal with struggle in the rest of our lives. What do you do when things get intense? Do you get angry? Shut down? Feel weak? Beat yourself up for being weak? Run away? Space out?
Yoga teaches us that it’s ok to feel, even when it’s uncomfortable. Just keep breathing. If you’re in pain, make a healing choice and change something to get out of pain. If you’re just in sensation, challenge yourself to breathe, stay present and allow yourself to feel, knowing it will pass.
That said, in yoga and in life, it’s all important to set yourself up for success: finding alignment, the right amount of effort and how to use your breath (in this case Lion’s Breath) to help move out the quake-y, growly energy as it rises up.
Prelude to Wave Dancer (3 stages)
In Forrest Yoga, Wave Dancer (a pose unique to Forrest Yoga) and the prelude stages that lead up to it are designed to both release and strengthen the low back. A rolled up mat, blanket or beach towel is used to massage the guts and internal organs, improving digestion and breathing as well as releasing fascial (connective tissue) restrictions to create greater ease in the Psoas and hip flexors.
There are multiple stages to this pose. Sometimes I build them all into my practice, progressively going deeper. On days when my back is tender, I may stick to just stage 1 which is a great baby back bend for folks working with active back injuries or pain.
Go slow, particularly if you're working with back pain and don't forget to use your legs - safe, healing back bending is more about using your legs and butt then the back.
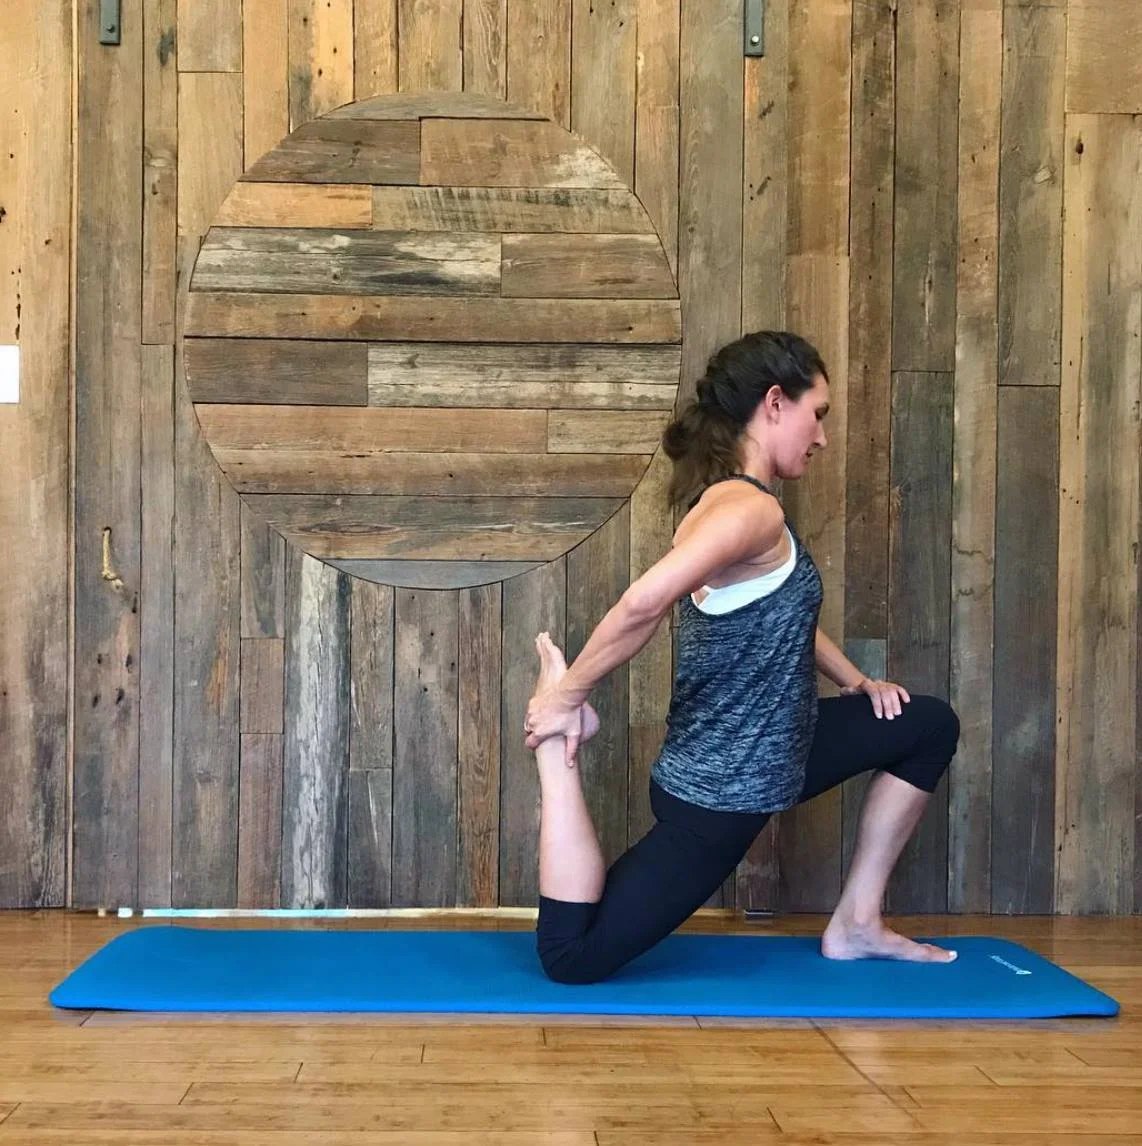
Lunge Heel to Butt
Lunge Heel to Butt (or Lunge H to B for short) is a strong thigh and hip flexor stretch. In a Forrest Yoga class, this would normally come later in class after we’ve done several other lunges and moves to warm up the legs before going this deep. This is important for any kind of stretching. Despite popular belief, stretching is not about lengthening your muscles - it’s about relaxing them. Physical, mental and emotional stress cause our muscles to tense - a response controlled by our nervous system.
Have you ever pushed so deep into a stretch that you clenched your jaw and stopped breathing til it was over? (admit it, we’ve all done it). The problem is, that kind of stretching only makes things worse.
To more effectively stretch your muscles, go slow, stop as soon as you hit the first spot of resistance and breathe - deep, slow, lung capacity breaths through the nose. This signals to our nervous system that we’re safe and it’s ok to let go. As the muscles soften, then you can go a little deeper til you find the next edge.
Once you’re feeling warm for Lunge H to B, gather up your props - like many things in life, this pose is better with the support of your friends. Start by placing a folded up blanket under the back knee for padding. Then come into a low lunge with the back knee on the floor.
Lean forward so that you are not directly on top of the knee cap of your back leg. Not pictured here but another favorite prop is to place the rolled up yoga mat in front of my back knee. As I lean forward, my lower thigh then rests on the roll taking any strain out of the knee and ligaments.
Reach back and grab your back foot. If the right leg is back, grab the foot or ankle with your right hand. Use the arm to draw your heel toward your butt (hence the name of the pose). Note - the heel does not need to come anywhere near the butt to get the magic release of this pose - go slow and stop when you feel the stretch.
Press down actively through your front foot for support. Lift ribs up away from hips and use your abs to keep the low back long (no arching or collapsing. If you can’t reach your back foot, wrap a strap or belt around it.
Pigeon Pose
Pigeon pose is a sweet stretch for the low back, the outer hip & groin of the bent leg and the thigh and hip flexors of the straight leg. It’s also a wonderful pose for down regulating the nervous system, easing stress and anxiety.
Pigeon can also be a challenge pose for many folks, particularly for those with tight hips or knee tenderness. A good rule for any yoga pose (or any exercise in general) is that It shouldn’t hurt. Pain is your body’s way of asking you to do something differently, so honor the signals It sends you. If It hurts - back out and change something til the pain goes away.
Your breath is also a good gauge for measuring strain. If It disappears or become shallow, you’re in struggle which is not a skill that most of us need to practice. Come out til you find a position where you can feel and breathe at the same time.
This video includes variations of pigeon, including how to modify for tender knees and how to deepen the release in the thighs and hip flexors for those of you who are already comfortable in this pose.
Lunges at the Wall (4 stages)
Lunge Series on the Wall, taught in 4 stages, is unique to Forrest Yoga and one of my favorites for really opening up the front of the legs and hips. It's an exhilarating stretch for the thighs, Psoas and other hip flexors! It can also get intense fast so make sure to keep breathing - as low in your body as you can and as deep and slowly as you can to avoid going into struggle.
Before coming into Lunges at the Wall, warm up first with some other lunges. When building these into my practice, I like to include lots of lunge variations in my Sun Salutations - starting with low lunges (back knee down), then building up to lifting the back knee and finishing off with Arrow Lunge (see my other lunge videos for how to’s and tips for each of these).
There are 4 stages to Lunges at the Wall, though most commonly I only teach the first two (sadly, this is normally due to time constraints). So don’t feel obligated to do all 4 stages at once. Choose the ones that feel best and try to stay in each pose for at least 5 breaths.
Half Bow Pose
Bow and Half-Bow poses are deep yoga back bends that require strength and flexibility in the thighs, hip flexors, glutes, chest and shoulders - not just the back. It's often sequenced at the end of class once the body is warmed up enough in all these areas to safely come into the back bend without strain.
In Forrest Yoga, we use the rolled up mat under the belly to create more space in the low back.
(see my Cobra or Wave Dancer videos for more info about how to create and use a rolled up yoga mat or towel for back bends: https://youtu.be/rzeWrin9Eds)
For anyone working with disc issues, sciatica, compressed vertebrae in the low back or for hyper flexible folks who can easily push too far in this pose, the roll is a supportive way to create more space in the low back.

